
Home | Blogs
Blogs
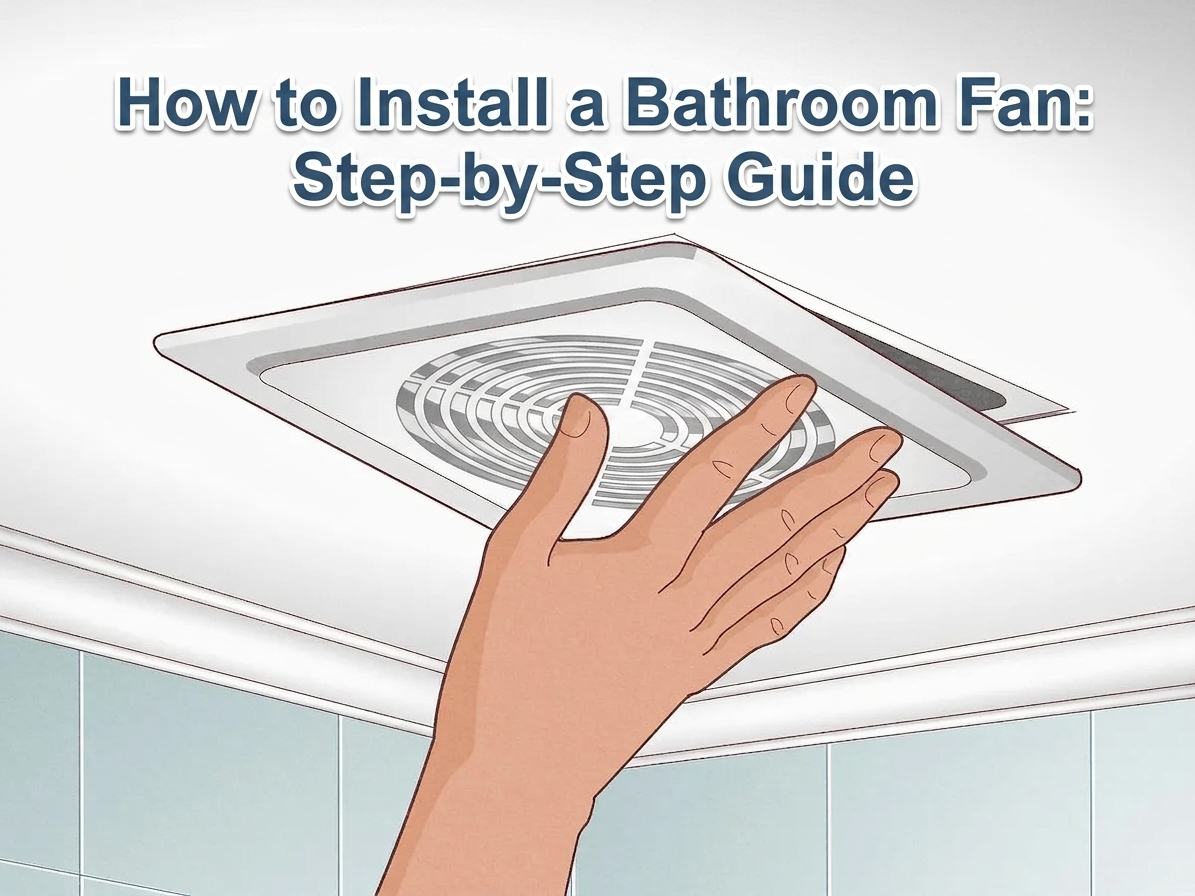
How to Install a Bathroom Fan: Complete Step-by-Step Guide
How to Install a Bathroom Fan: Complete Step-by-Step Guide
A bathroom fan helps remove moisture, odors, and humid air from the room. Proper ventilation can reduce condensation and help protect walls and ceilings from moisture-related problems. The majority of the homeowners in Georgia, especially Atlanta, prefer to install a fan in the bathroom due to the same reason. If you are looking for a guide to install, stop skiing AIs because they do not have practical experiences.
I am a professional renovation and bathroom remodeling expert and have been working in this field for a long time. Come with me to understand how you can install a bathroom fan within 10 minutes.
Why Bathroom Fans Matter More Than People Think
Have you ever noticed the water mark on the shower glass? The musty order and humidity? Or have you ever seen mold and mildew growth? All these problems are common for such a place where water and moisture are unstoppable. But with a bathroom fan, you will be able to prevent all these problems.
Size the fan correctly first.
Before we jump to discuss the steps to install a bathroom fan, you need to ensure the fan is installed correctly. The size of the fan depends on the size of the room. A small mistake will waste your money because an undersized fan will be unable to prevent moisture.
Bathroom Size Up to 50 sq ft: 50 CFM (minimum) is recommended.
Bathroom Size 50 to 100 sq ft: 1 CFM per sq ft of floor area is recommended.
Bathroom Size Over 100 sq ft: Size by fixture: 50 CFM each for toilet, shower, and tub; 100 CFM for a jetted tub is recommended.
Gather Tools & Materials
One last measure before we start discussing how to install bathroom fans is to gather tools and materials. I have provided a list before; collect all those tools and materials before installation and then let’s start the work.
Tool or Material | Purpose |
Bathroom exhaust fan | Removes humid air |
Screwdriver | Secures the fan |
Drill | Creates mounting holes |
Utility knife | Cuts drywall or other materials |
Ductwork | Carries air outside |
Vent cap | Covers the exterior duct opening |
Wire connectors | Secures electrical connections |
Electrical cable | Connects the fan to power |
Safety glasses | Protects your eyes |
How to Install a Bathroom Fan
Installation is not complex, but those who have never done such an installation will find it complex. Therefore, I have broken down all the complex instructions into simple steps that you can use for bathroom fan installation.
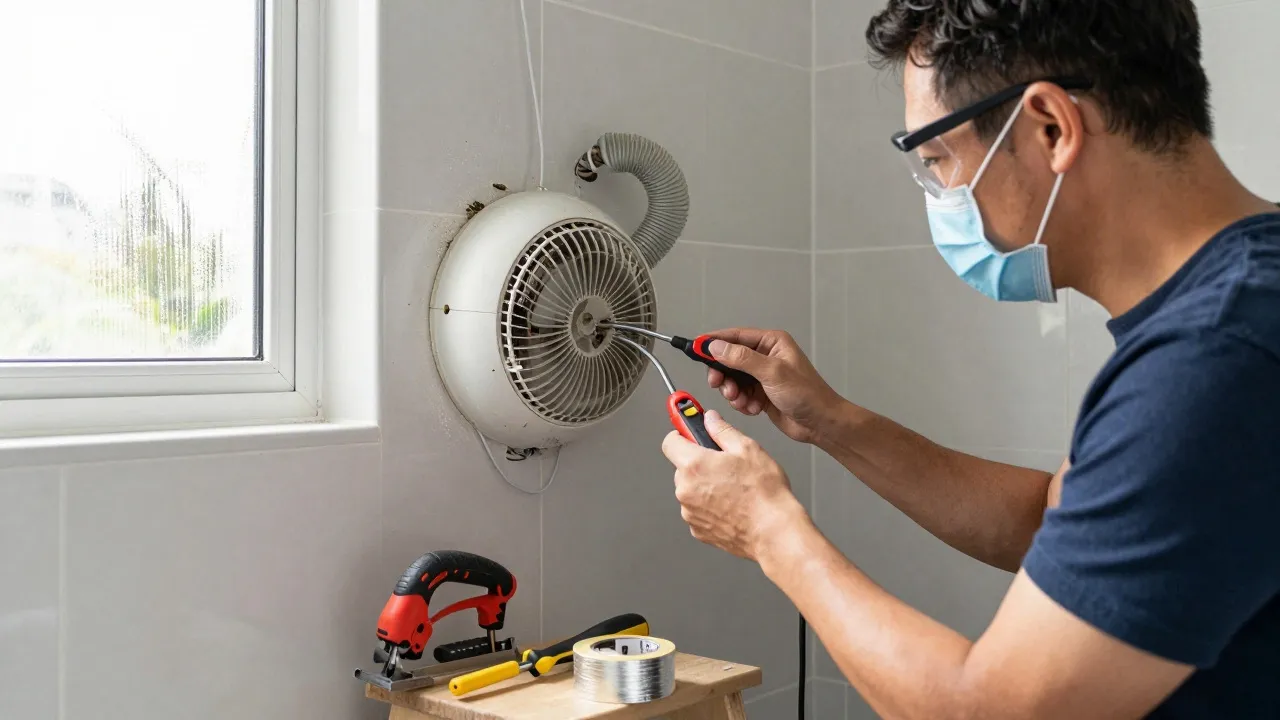
Step-by-Step Guide
Step 1: Turn off the power. Switch off the circuit breaker supplying power to the bathroom. It is the first and most significant step for a secure and safe installation of fans.
Step 2: Choose the location where you install the fan; it should be positioned where it can effectively remove humid air from the bathroom.
Step 3: Use the fan housing or manufacturer's template to mark the opening. It is better to cut the ceiling carefully with the appropriate tool.
Step 4: Once you can cut the ceiling, attach the appropriate ductwork to the fan outlet. The duct should lead outside the home rather than into the attic or another enclosed space.
Step 5: The duct should terminate through an exterior wall or roof using a suitable vent cap. Handle everything precisely and ensure that the opening is sealed.
Step 6: Install the exterior vent; the opening should be properly sealed to prevent water and air from entering the home.
Step 7: Connect the fan to the electrical circuit according to the manufacturer’s wiring diagram and applicable electrical requirements.
Step 8: It is time to connect the electrical wiring, so hire an electrician if you are not experienced with electrical work.
Step 9: Install the cover of the fan and make sure that it is properly against the ceiling and does not interfere with the fan blades.
When Should You Hire a Professional?
If you are unable to install the fan for any reason, you can get in touch with a professional. Here are the conditions when you should hire a professional:
New electrical wiring
A new circuit
Cutting through the roof
Installing long or complicated duct runs
Working around plumbing or structural components
Major ceiling repairs
Frequently Asked Questions
Can I install a bathroom fan myself?
We can handle a bathroom fan, but it requires expertise. Therefore, if you find it complex, you should partner with an experienced service provider.
Can a bathroom fan vent into the attic?
No, a bathroom exhaust should be directed outdoors through a suitable wall or roof termination.
Where is the best place to install a bathroom fan?
A ceiling location near the shower or bathtub is commonly used because it allows the fan to capture humid air effectively.
Do bathroom fans need to be vented outside?
Yes. The exhaust air should be discharged outdoors rather than into an attic or enclosed space.

Social Media Links
Contact Us
Interested? You may check below for our contact information or you may send us a message by filling out the form!
1584 Roswell Road, Suite 200, Marietta, GA 30062, United States
Mon – Sat. 9am – 5pm



Seamless Style, Effortless Elegance, Unmatched Comfort.
© 2026. The Resource Group LLC—Bath Renovations


Company
Services
Contact
1584 Roswell Road, Suite 200, Marietta, GA 30062, United States
Mon – Sat. 9am – 5pm
Facebook
Instagram